CAN Channels
Overview
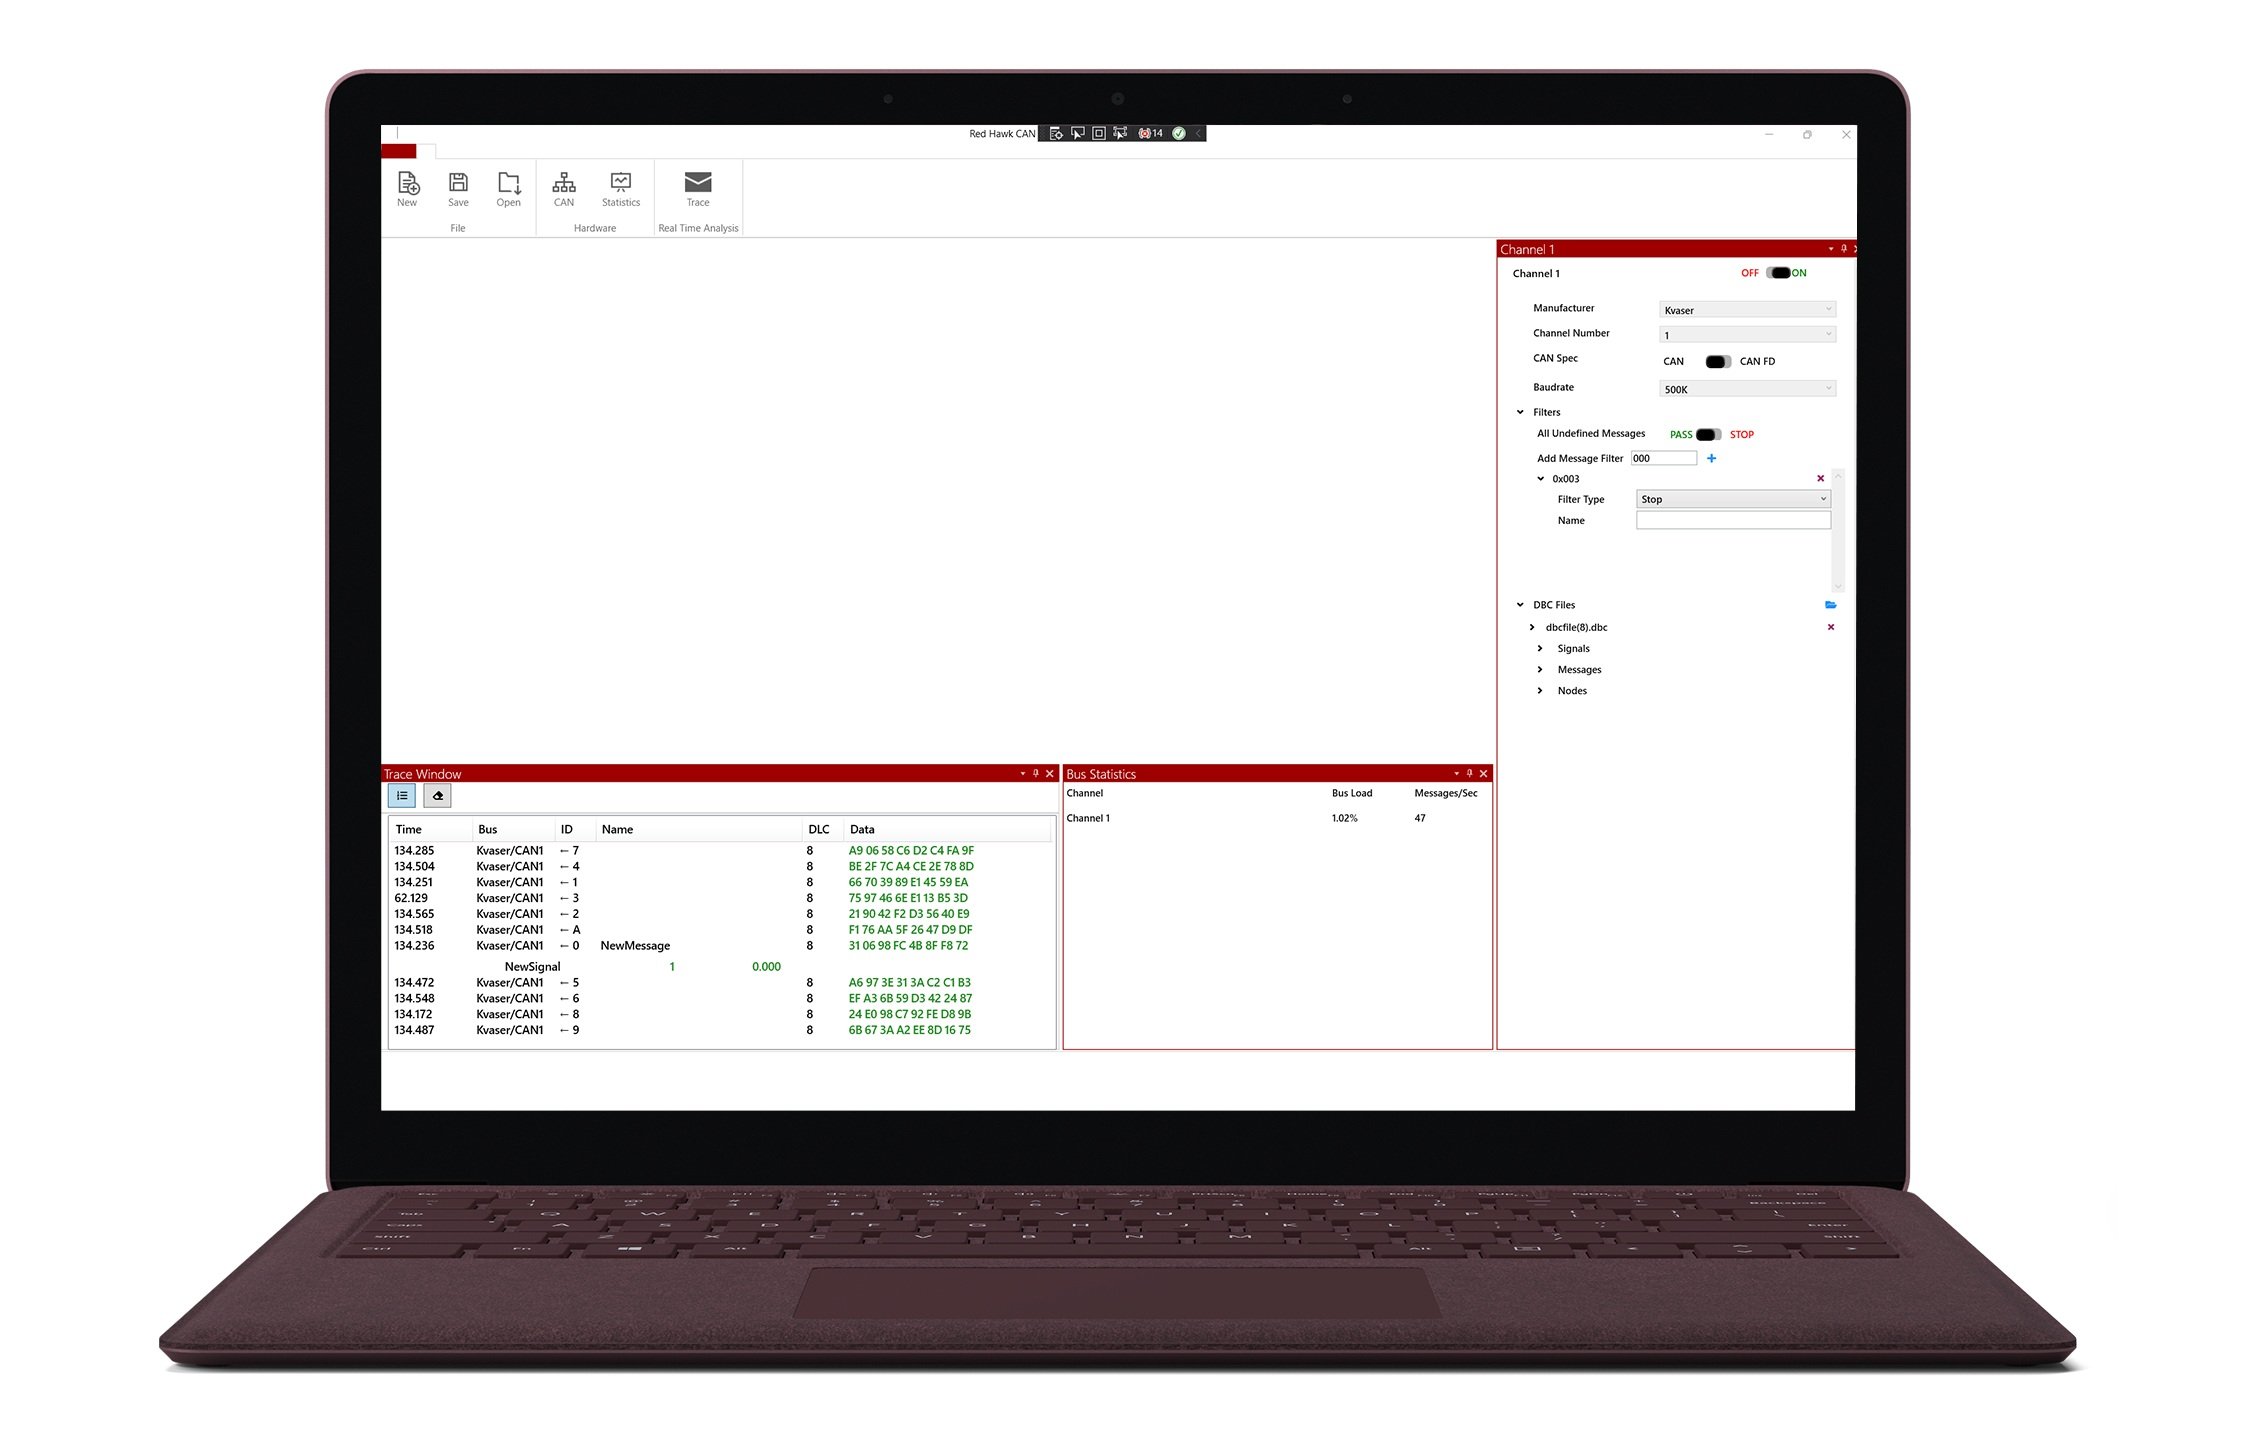
CAN Bus Channels are a connection to one channel of a CAN bus interface. Users can add and remove channels based on project needs. Each channel can carry a unique name for the project. When saving a project, the channel settings persist to that project. Red Hawk CAN Bus Analyzer supports hardware devices from Kvaser, Peak, and Vector devices. Please see tables in each interface section below for an inclusive list of all currently supported hardware. For more information on managing CAN bus channels (adding, removing, etc) please see the Hardware in the Ribbon Menu section.
Renaming a Channel
Right-click the name of channel you would like to rename and select ‘Rename’. Type in a new name and select the Enter key.
Switching a CAN Channel Bus State
After a CAN channel has been successfully configured, the bus state can be switched by clicking the ON/OFF switch to the right of the channel name
Configuring a CAN Channel
DBC Files
DBC files, or Database Container Files (.dbc) can be utilized with a CAN channel to pre-process network data into meaningful data. DBC files define nodes, messages and signals. For more information, a quick internet search will yield detailed information.
When a DBC file is added to a channel, a collapsible network tree appears under the channel. All of the nodes, messages and signals are shown.
Removing a DBC File from a CAN Channel
To remove a DBC file from a CAN channel, click the red ‘x’ to the right of the DBC file name. A dialog box will appear to confirm the removal of the DBC. Select ‘Yes’ to remove the file, ‘No’ or ‘Cancel’ to keep the file.
Adding a DBC File to a CAN Channel
To add a DBC file to a channel, click on the ‘open folder’ icon to the right of the CAN Channels label in the Data Acquisition pane. Once clicked, a dialog window will open. Navigate to the directory of the desired DBC file and select it. The DBC file will now be added to the channel.


